Cisco Self-Signed Certificate Generator
- #projects
In this post, we are going to use a Cisco C9800-CL and a VM running Linux for this demo, the certificate should work with any IOS-XE device.
This script was tested with OpenSSL v1.1.1f & LibreSSL 3.3.6
Steps to generate the certificate bundle:
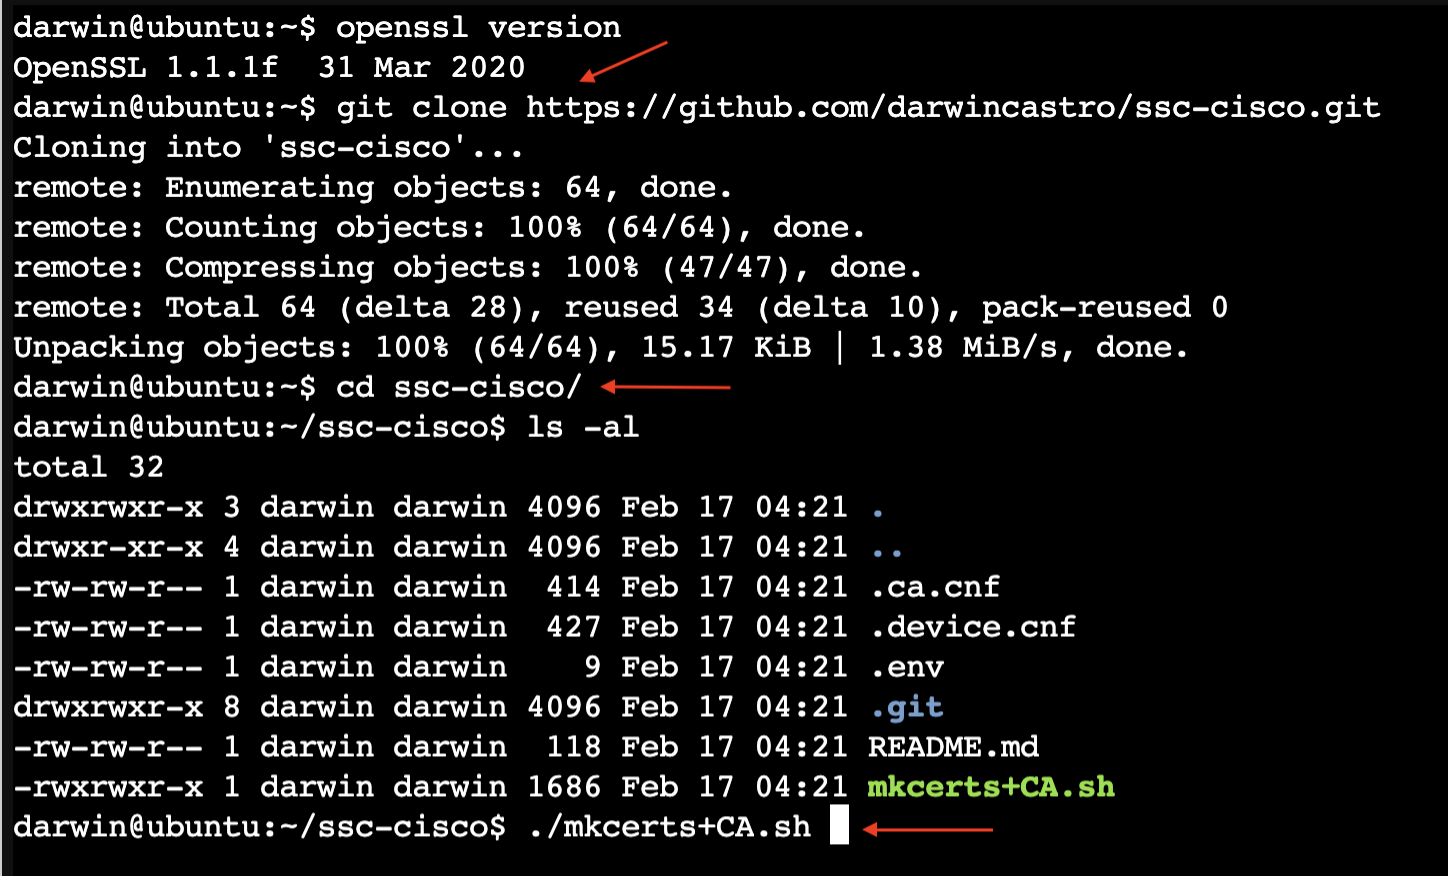
- Clone the repository, and go to the directory.
git clone https://github.com/darwincastro/ssc-cisco.git
cd ssc-cisco- Run the script:
./mkcerts+CA.shThe output should look like the following:
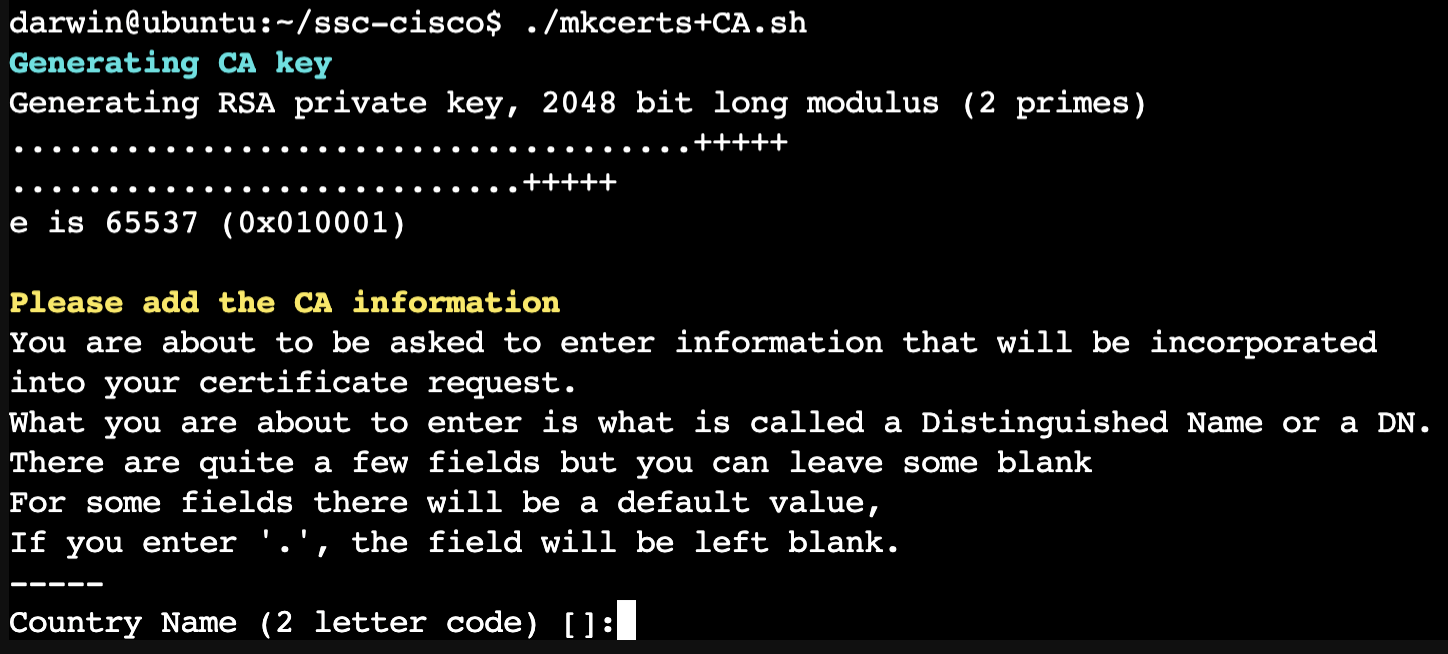
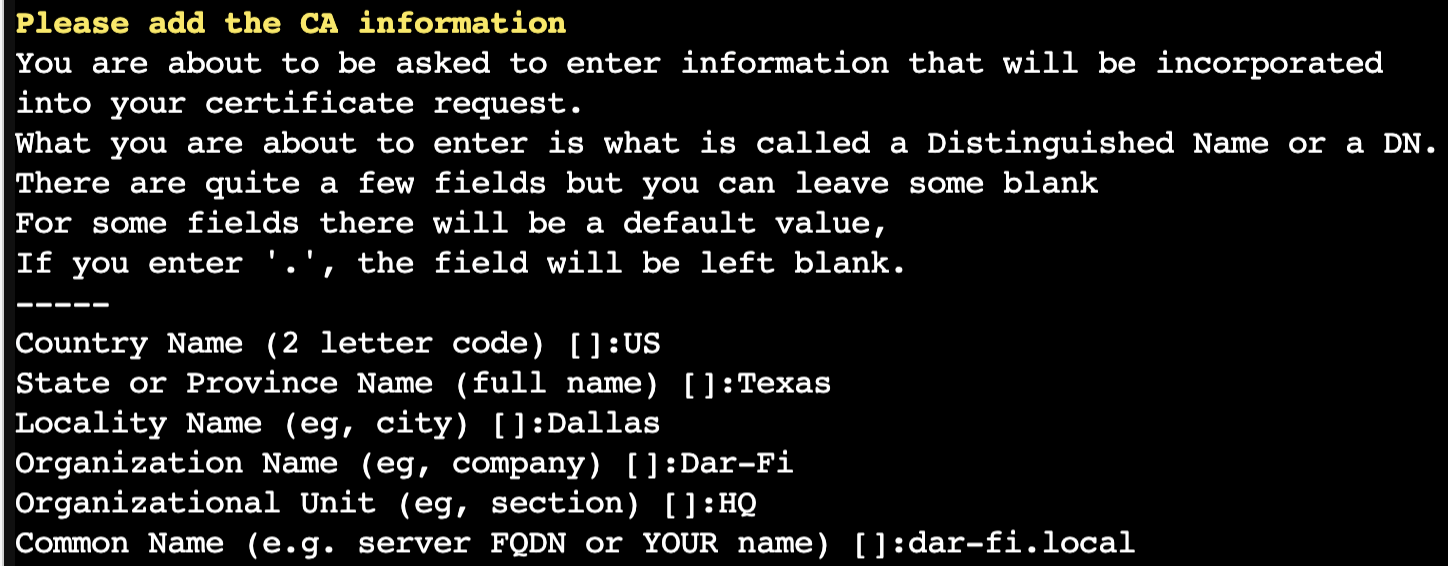
- The first block of information belongs to the CA, use any information that you like, and make sure to use your domain name under the “common name” section, like; “example.com”
- The second block belongs to the network device, in my case the Cisco C9800 controller
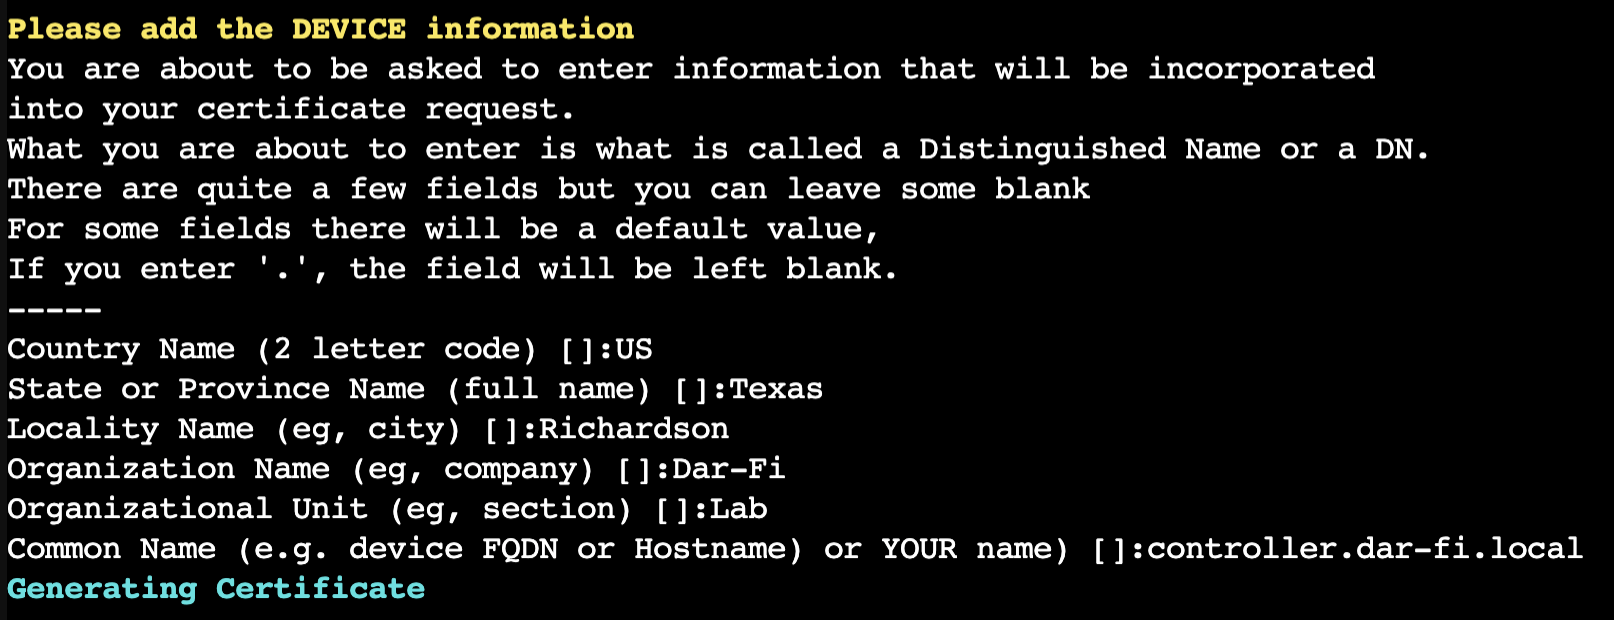
Add any information that you like, but make sure the device hostname includes the domain (FQDN). In my case, I used controller.dar-fi.local
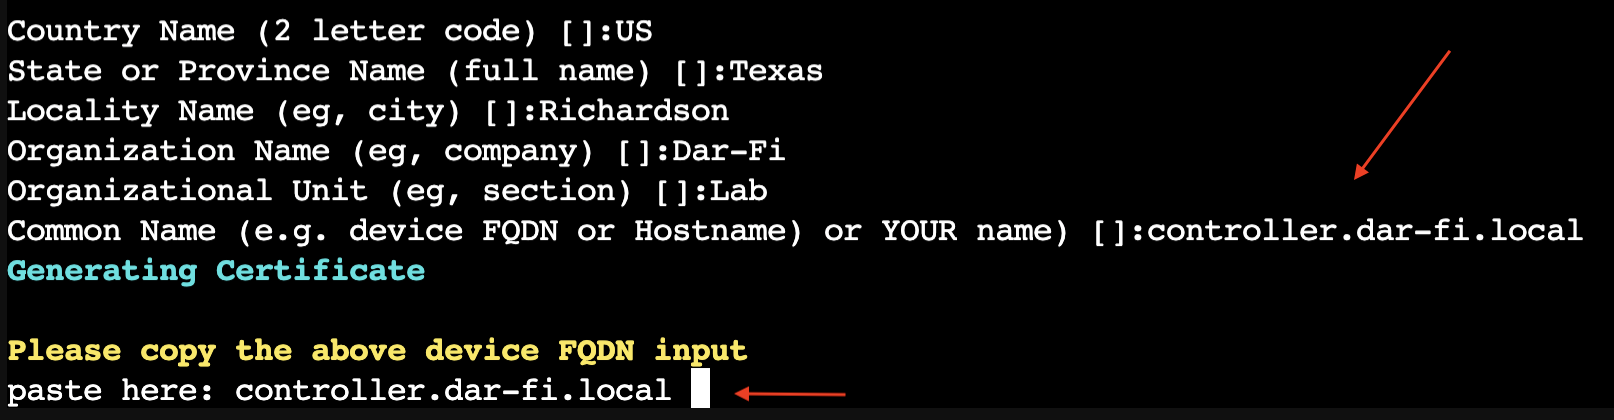
- Copy and paste the FQDN you just added before
- Add the IP address of your network device
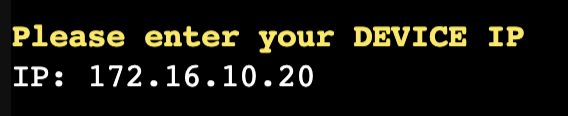
After adding the IP address you will see the following output:
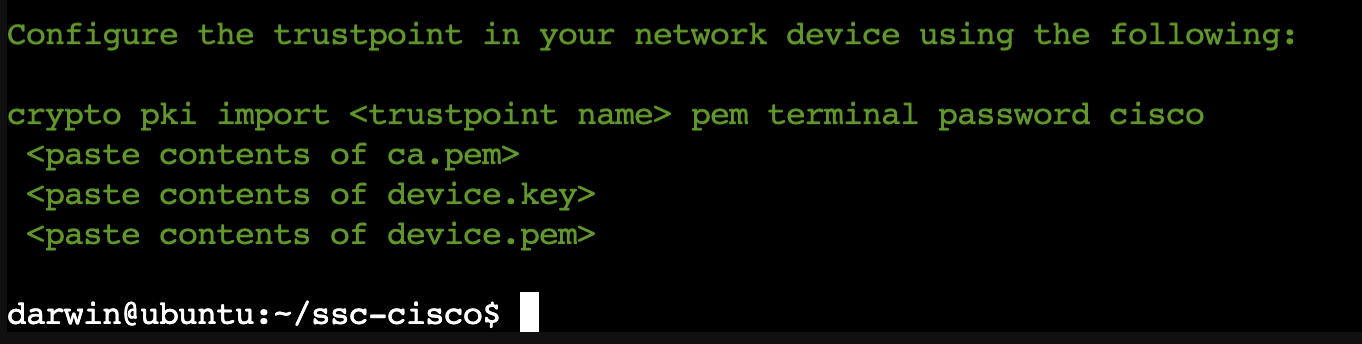
You will get a handy output with green text, it includes the commands to run in the CLI of your Cisco IOS-XE device, and the certificate’s names to copy
Steps to upload the certificates to the C9800 via CLI
- In global configuration mode run:
crypto pki import <trustpoint name> pem terminal password ciscoAdd any truspoint name of your preference, please notice that I’m using a password in plain text cisco if you want to use a different password just modify the script in lines 19 and 23.
- After running the crypto pki…command, copy and paste the ca.pem file from your Linux machine
In your Linux machine run:
cat ca.pem
Make sure to copy from BEGIN to END, like
-----BEGIN CERTIFICATE-----
MIIDTTCCAjUCFCgoqdvrzkQyrpvgQhxa6d8rZbYnMA0GCSqGSIb3DQEBCwUAMGMx
CzAJBgNVBAYTAlVTMQ4wDAYDVQQIDAVUZXhhczEPMA0GA1UEBwwGRGFsbGFzMQ8w
DQYDVQQKDAZEYXItRmkxCzAJBgNVBAsMAkhRMRUwEwYDVQQDDAxkYXItZmkubG9j
..
XXkv0/Km8rM3hIUghFbxk3OFZBhuoe+yzpldJfgoW37yeagqwX8tH2CDTOwVCVIZ
o8xMvt59fiw3uE+ipzgIOj2TteS2EdTRiTcyLTTlc+6BgG6Atk6zzzfxXuJ5A6q2
vBmP1XJA7Q/K313g04GGHPQG4nrqa3oGrxKnqmzMqRnJ
-----END CERTIFICATE------ Copy and paste the device key Into your Linux machine run:
cat device.keyMake sure to copy from BEGIN to END:
-----BEGIN RSA PRIVATE KEY-----
Proc-Type: 4,ENCRYPTED
DEK-Info: DES-EDE3-CBC,BF15DEEAE3BAD00A

+640AcngqnC1PDeWPM5E7rihLuGtVnRGvd6mg6/oe6xYL4TgNMoDvBoE0xBzK+p0
pWCjygammeggIlMcndBSE3NMxm8g4OzLmnUgoToBf/gZsQDEwzOs+1NfmNtxiwfx
ZCd6ZQ9L1SBH5xTdJbVgAGnBYsUgalQ5S9dGWCemOK9aaT4gIzojhDclYt3KT/+N
..
a2bQDrhudkvX+k6kwGKLUfSLA+zqs46UhsqinMNdquHOE1z4nFzF493Ecmk4LzT/
sYy2glwhWnmo4rlLjhMP5mR1GS4mH15fmk8qX29VOZES3XjIsgzGFtAzTjYMsgvi
x9Ch+mLQeLqLEVeGpbv3XzOZzJdZBLqlafHCQAEE/5pEfcCUEt/0l9Ql3W2WNiQU
-----END RSA PRIVATE KEY-----
After pasting the device key hit enter and then type quit in your controller terminal.
- Copy and paste the device certificate Into your Linux machine run:
cat device.pemMake sure to copy from BEGIN to END:
-----BEGIN CERTIFICATE-----
MIIEkDCCA3igAwIBAgIUMFEMGS0nwUv7DuLwkQHoN8gVRlMwDQYJKoZIhvcNAQEL
BQAwYzELMAkGA1UEBhMCVVMxDjAMBgNVBAgMBVRleGFzMQ8wDQYDVQQHDAZEYWxs
YXMxDzANBgNVBAoMBkRhci1GaTELMAkGA1UECwwCSFExFTATBgNVBAMMDGRhci1m
..
cI/2yIYln6xlLvQ5dyphfRxReXF877xGRNfD5nm2VgQ7Tp6+/rJdhYpmDOPxlWxG
LJwAD1NylPhVw3NsHkdJKx35OYDxc9Yzbt9QOCfK1qd4qNJJMgI1sDjFPgb+2PK0
fpkMcqC0mpHsZUaLOp7IOG52ljo=
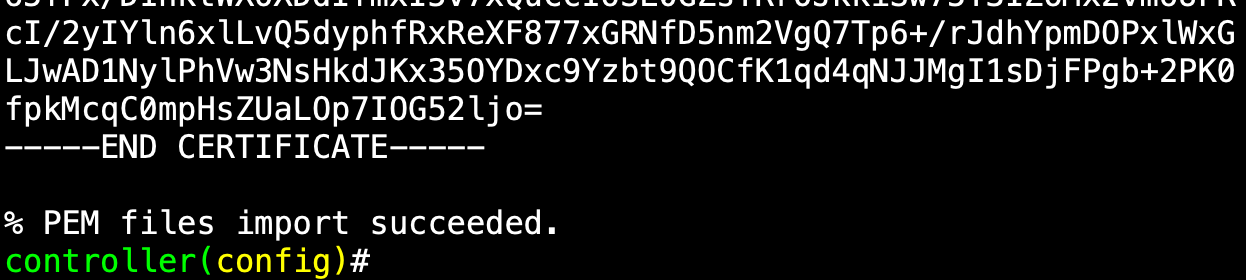
-----END CERTIFICATE-----Hit enter twice after pasting the certificate.
The output should look like the following:
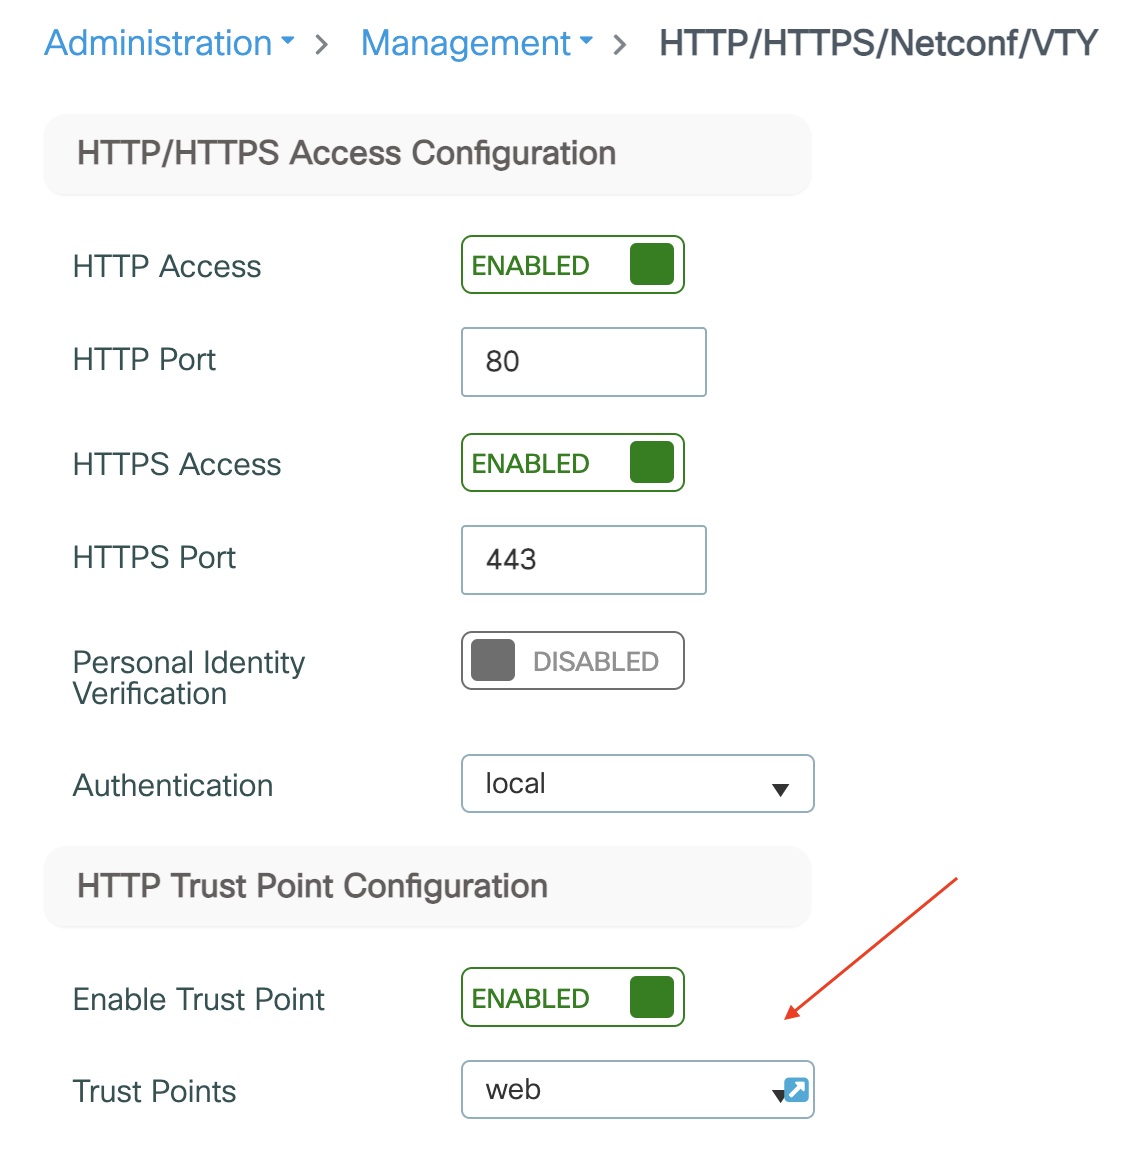
Steps to set up self-signed certificates for web authentication in C9800
- CLI:
ip http secure-trustpoint webIn my case, I called web the trustpoint
The output should look like the following:

- GUI
The output should look like the following: